Rocket Bat House.
(Construction of this page is in progress -- November 2016)
Plans for building this Rocket Box can be downloaded for free from the Bat Conservation International web site <www.batcon.org> Look on bottom of their 'Resources' web page for free bathouse plans.
in 2000 I went on a bat house building spree that produced eight 4-chamber bat houses. I installed these on our farm in north-western Wisconsin (Polk County) and pretty much forgot about them for 15 years. This past fall I actually saw a dozen bats fly out of these houses at dusk.
Now that I know that these houses actually work for bats, I decided to build some more. I used some scrap lumber that I found in my shop to build one of these houses. Then I saw plans for building a 'new' kind of house. The 2-chamber Rocket Bat House. I had all the required wood for this house but I needed a 20' pipe.
Twenty plus years ago my neighbor gave me a 20' piece of galvanized water pipe that I've always intended to install as a fire pole somewhere but never quite got around to it. So now I have all the pieces for a Rocket Bat House.
2016 Rocket Bat House
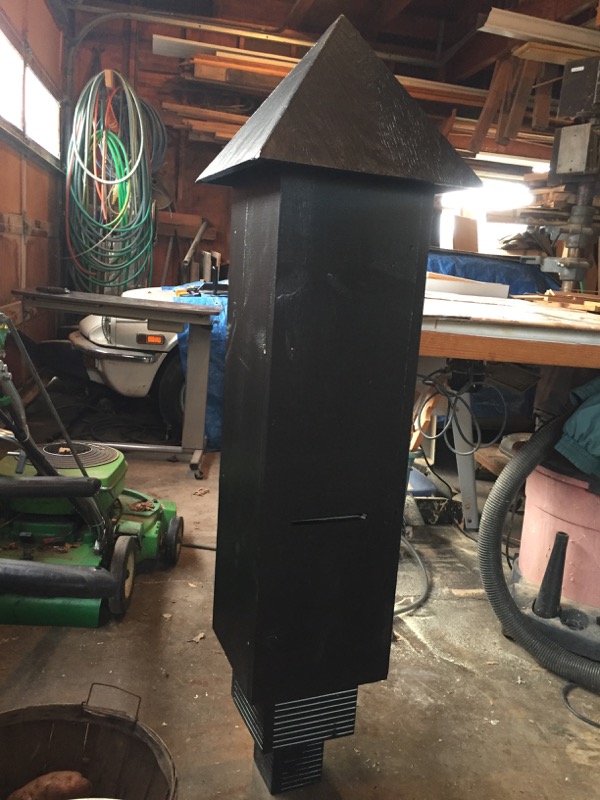
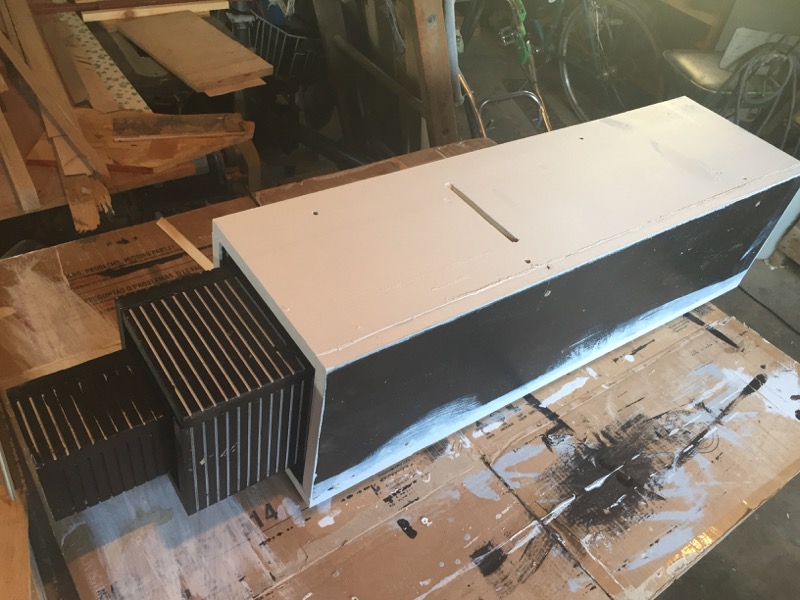
Rocket Bat House finished and painted (one coat primer and two coats black latex). Construction closely follows plans in the book "Bat House Builder's Handbook (Second Edition)" < Purchase Here for $6.67 >.
Note: As of Sept 2019, I see that this Handbook is out of print. Luckily the plans that you downloaded above are identical to the plans in the book for the Rocket House.
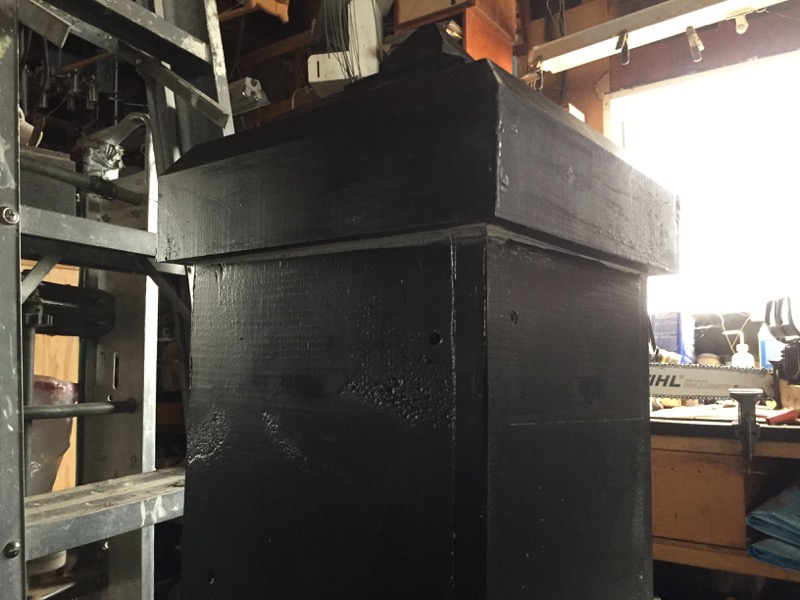
I made a couple minor modifications to these plans. The most dramatic is the roof. I thought that something called a 'Rocket' should have a pointy top (nose cone) so I replace the flat roof with a pyramid. This demanded a whole other project for me to learn how to build a pyramid.

Mounted on 20' pipe
Placed the finished Rocket House on the 20' pipe to get an idea of how heavy this will be to hoist - when the time comes. I still need to figure out a few things.
Like:
- A way to anchor the pipe
- A way to hoist the pipe
- A good location install the house.
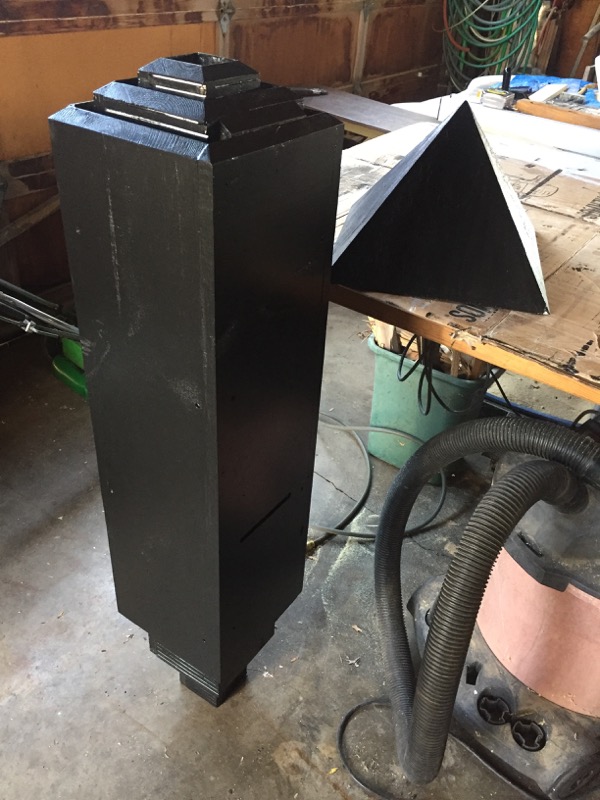
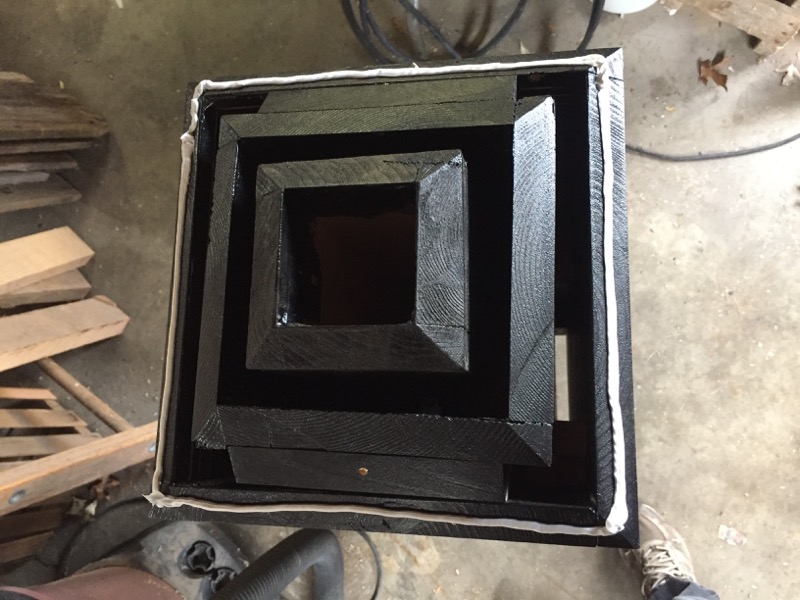
Finished rocket with roof removed
The first thing I did differently from the plans was to make a pointy top for the house. Everyone knows that a rocket has to have a pointy nose-cone at the top. Right? This is what I came up with.
After the fact, I think that beveling the chambers is unnecessary. It would have been better to keep the top flat and cover and seal it with a flat board and then add the pyramid top. This would be much easier and probably give a better (tighter) seal for the chambers.
First Rocket house construction details.
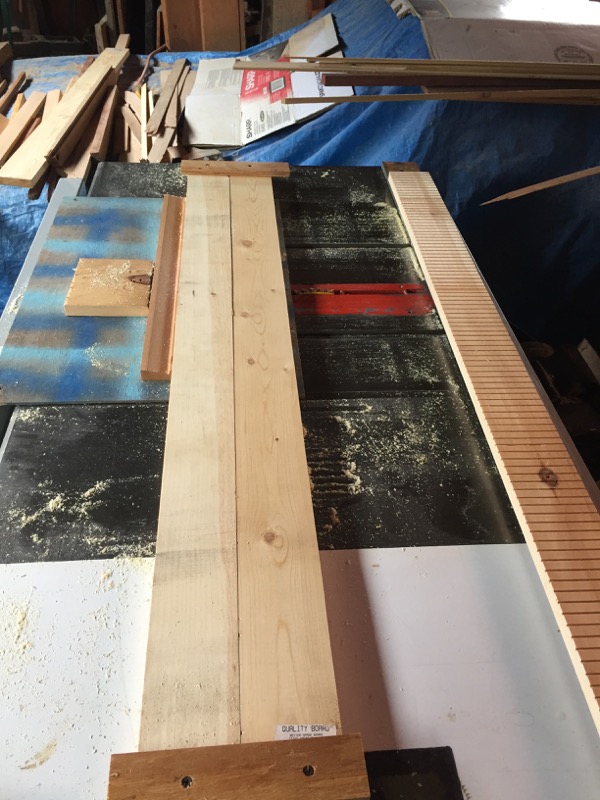
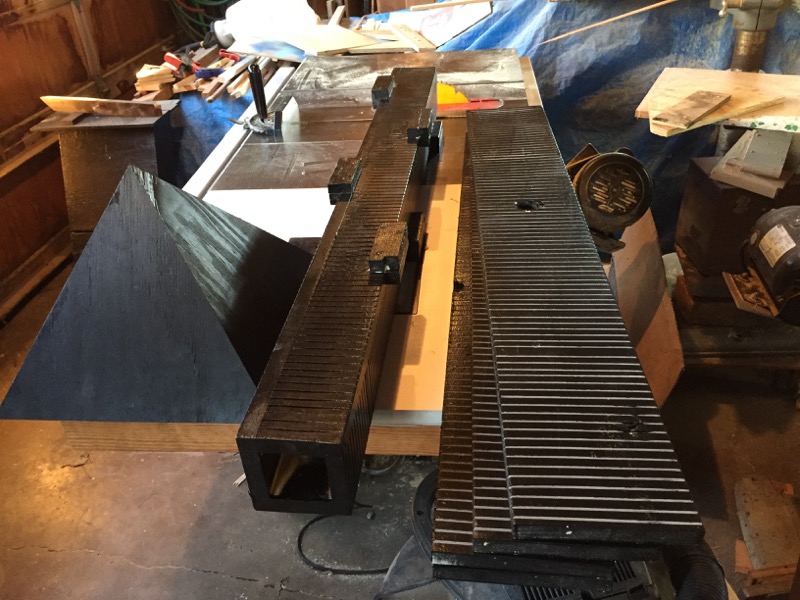
Cutting grooves with jig
So here we go ...
The boards for the inner 'Pipe Sleeve' layer. Since my pipe is the same size as the plans call for, I can use the exact dimensions from the plans.
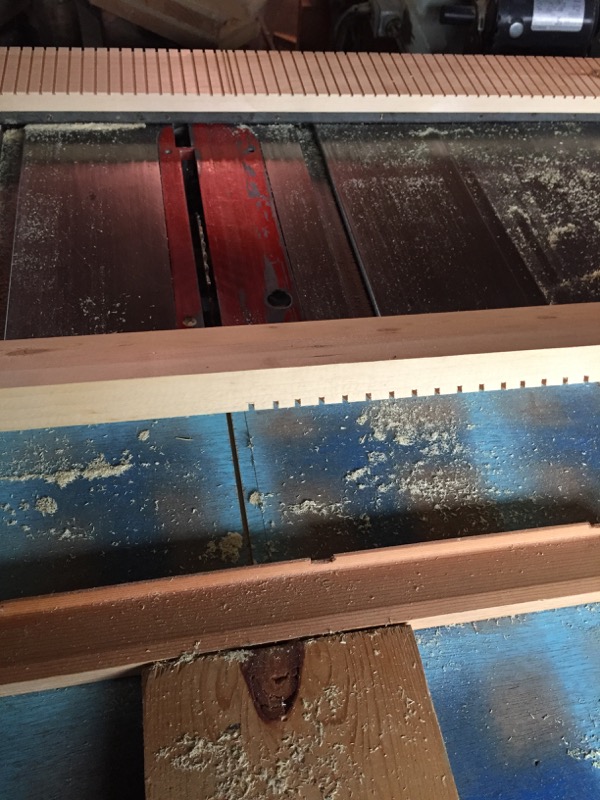
The hardest part of making these bat houses is roughing up the surface of the boards. I've done this in the past with a hand saw by setting the blade to 1/8 cutting depth and making multiple passes over the boards in more or less parallel lines.
This is harder than it sounds and the results are sloppy at best. So I built a jig that allows me to cut fairly precise slots 1/2" apart on the face of the boards.
With this jig, the job is still tedious but at least the results look nice and hopefully will be appealing to the bats. As you see here, I am cutting two boards at the same time to speed things up a little.
Each side takes about two songs time -- on my shop radio (actually Pandora on my iphone).
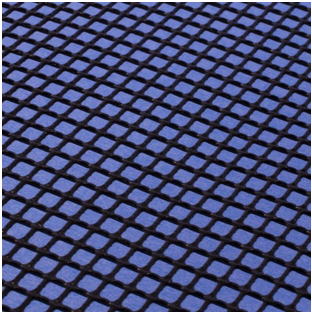
Bat house netting
NOTE: The instructions offer an alternative to these grooves:
Black Bat House Netting with 1/8" opening. UV stabilized Polyethylene with a roughened surface - that will not rust - for bats to cling to inside of Bat Houses.
Hole size (in): 0.125 X 0.125
Thickness(in): 0.038
A 4' x 7' sheet costs $38.10. This would be plenty for 2 bat houses (4-chamber) and probably more Rocket houses. But it almost doubles the cost of the materials so I might hesitate to use it.
Click on image to browse to sellers web site.
It would save time and electricity (in running the saw) but that time really isn't any longer than what it takes for sanding when I make a new piece of furniture.
So I may keep cutting grooves.
Grooving Slide detail:
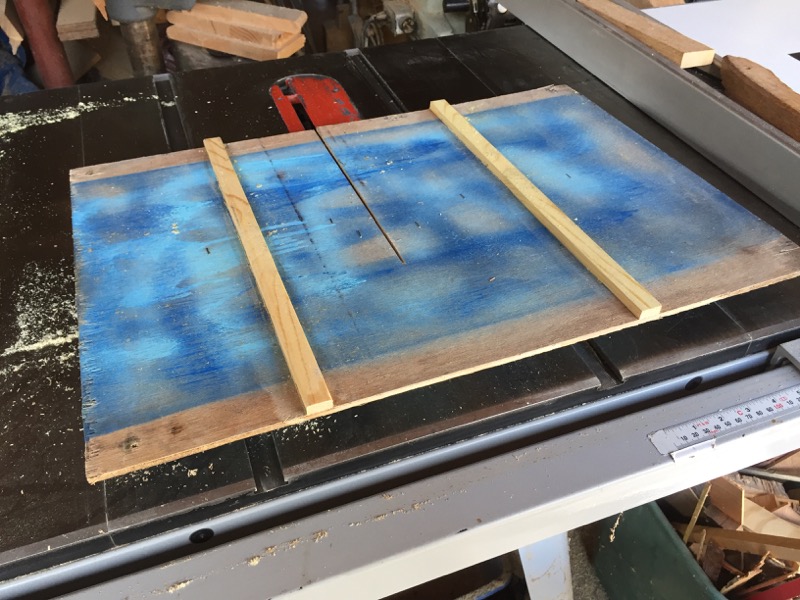
The following pictures show the quick and dirty slide I constructed for cutting these grooves.
- Cut a piece of scrap 3/16" plywood with two runners attached to the bottom -- positioned to match the miter grooves in the saw table.
- Flip slide right side up and cut a groove half way across the slide.
- Attach a fence perpendicular to this groove.
- Mark a line parallel to the groove and between 1/2 and 3/4 inch from the groove. This will be the distance between your cuts.
- Using a staple gun, drive half inch staples along that line with the slide pressed firmly against the saw table. These staples will hit the metal table and buckle, leaving ~ 1/16" above the slide. This is the guide you will use to rest the previous groove in when cutting along the bathouse wall.
- Attach a piece of scrap behind the fence at the end of the groove as a safety measure to keep fingers away from that area in case the table moves past the fence and you forget to keep your hands away from that area. (Cutting these grooves is a repetitive process and it's easy for your mind to wander).
close up of slide
Under side of slide
assembling inside 'pipe sleeve' layer
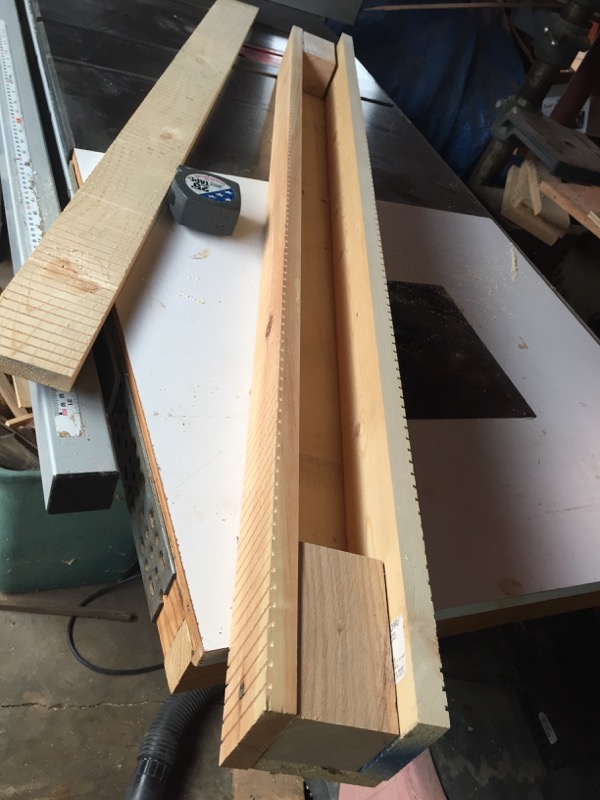
Pipe Sleeve
The grooves are cut and it's time to assemble. I cut two blocks to match the pipe diameter to use as spacers. I glued and nailed the pieces together. I didn't bother with caulk because the pipe sleeve space will be under the same roof and sealed by this roof. I saw no reason to caulk. (and the glue will provide a good seal.
Remember that you can click on any picture to view an enlarged copy.
Spacer blocks for second layer
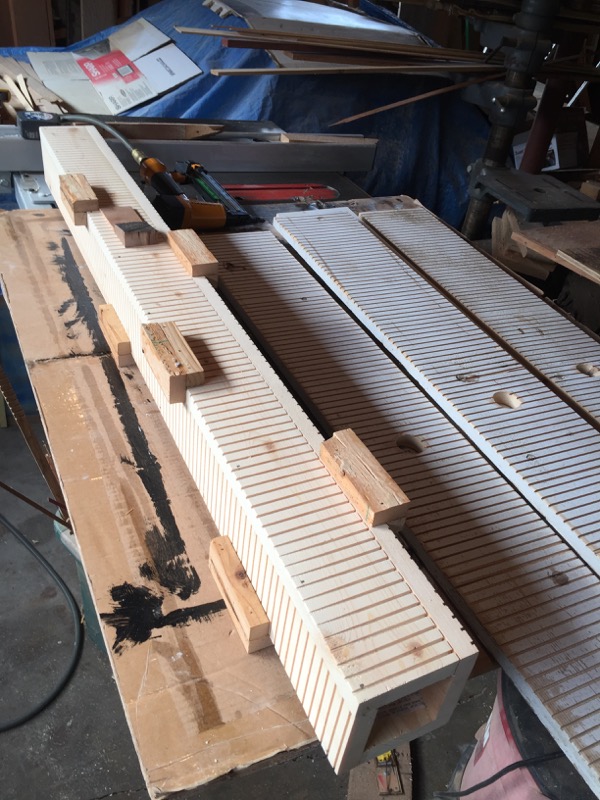
Spacer blocks
The plans call for 16 spacer blocks ( 4 per side ) This seemed like a lot of obstruction inside those chambers that would both impede movement and catch guano. So I made "L" shaped spacers out of a piece of 1X1 glued and tacked to a piece of 1X2. I used scrap pieces but made sure they provided a 3/4" space.
On the right you can see the strips of wood for the second layer (Inside Chamber). I only grooved one side of these boards to save time. I think the bats can crawl up one surface (we'll see).
I used a roller to apply one (1) coat of latex primer and (1) one coat of black latex paint to all inside surfaces. Every source says that bats prefer dark colors inside their homes.
Second layer ready to assemble.
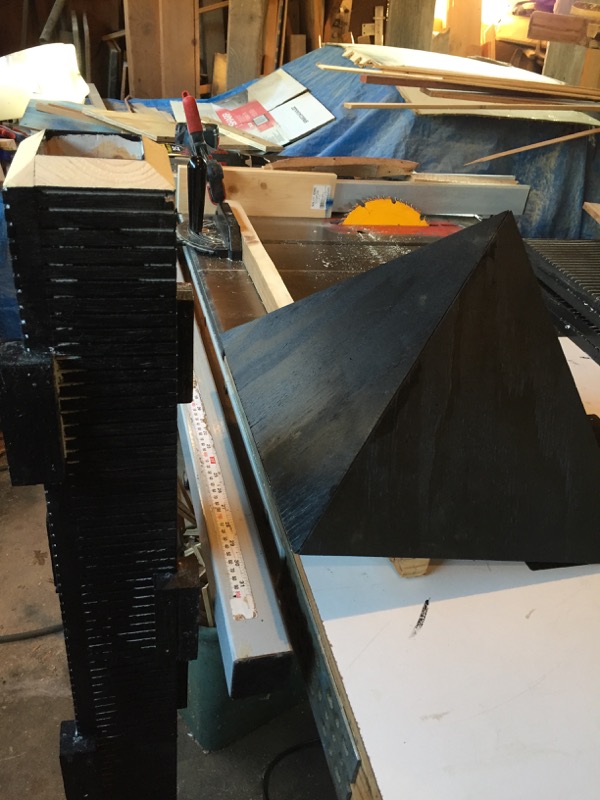
bevel cut for roof.
Assembling second layer.
Assembling Second Layer ( Inner sleeve).
The instructions call for assembling this 'inner sleeve' on it's own as a 'hollow square box' and then sliding this box over the pipe sleeve.
I assembled it around the inner pipe sleeve. I think this is much easier to manage and I see no reason to have this as an autonomous box.
Maybe later I'll wish I could slide things apart in layers -- for cleaning? But in the 15 years I've had those other bat houses in use I've never opened them up for cleaning.
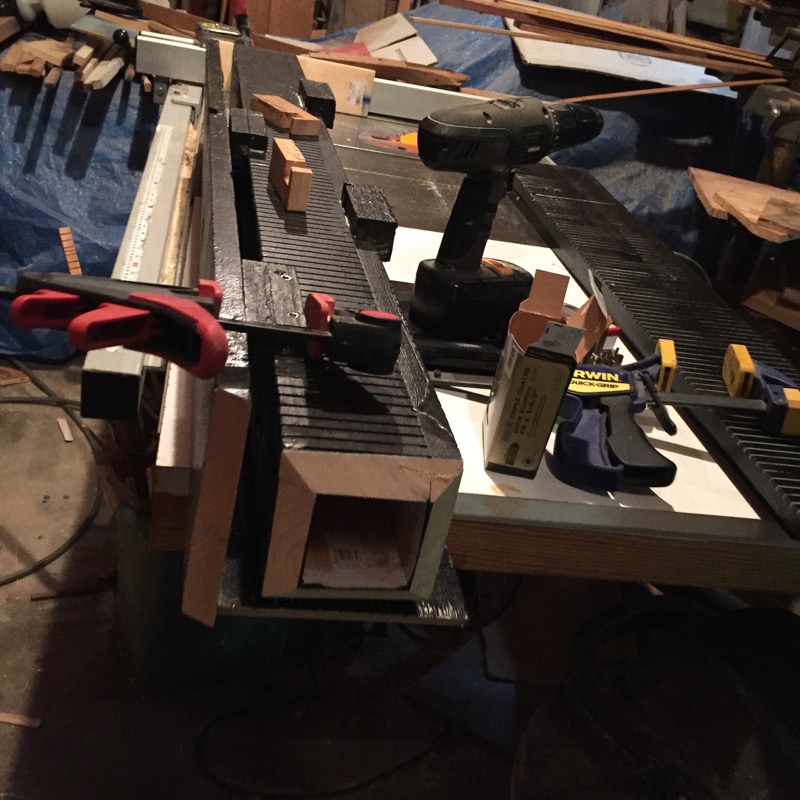
I used clamps to hold these pieces while I screwed them to the spacer blocks. (pre-drilled and counter sunk holes).
I didn't caulk this layer either (the plans did not call for it) for the same reason.
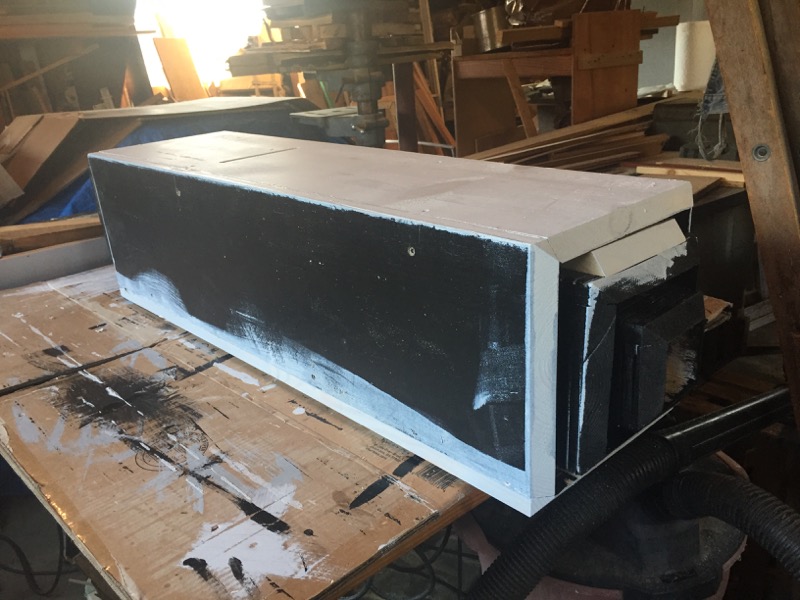
Outside assembled with primer coat.
Outside layer - showing landing pads.
Adding the roof.
Adding the roof.
The rocket box is finished except for the roof (and putting it up on a pipe). My first attempt at attaching was to simply caulk the outer shell and screw it to the spacer boards on two sides. When I placed the roof on the caulk and removed it to test for gaps, there was no evidence that the caulk had made contact with the roof except on the corners.
So back to the drawing board....
<to be continued....>
Adding a collar to mount the roof
Update on the Roof
The bottom line on attaching the roof (nose cone) to the rocket was that I got the angles wrong when I was cutting the sides to the rocket chambers. I cut them to the same angle that I used to make the pyramid. They should be the complement to that angle.
My saw only tilts to 45 degrees, I would have had to stand the boards on end to cut the bevel. That's not happening -- and certainly NOT after having already put the thing together.
My solution was to add a collar o the top of the rocket, saw the proper angles and add it to the rocket to mount the nose cone.
I should have just left the ends of those boards square on top and saved myself a lot of work. What do you think?
Collar from another angle
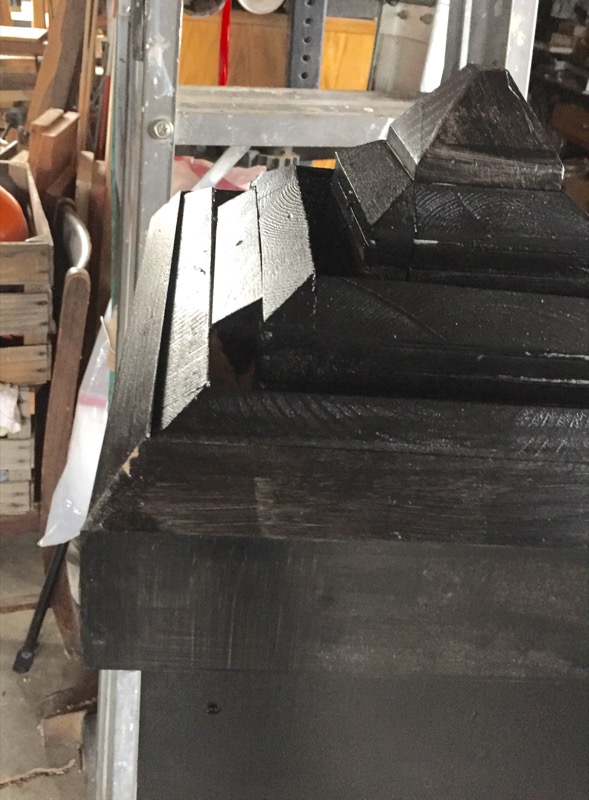
Showing the angles
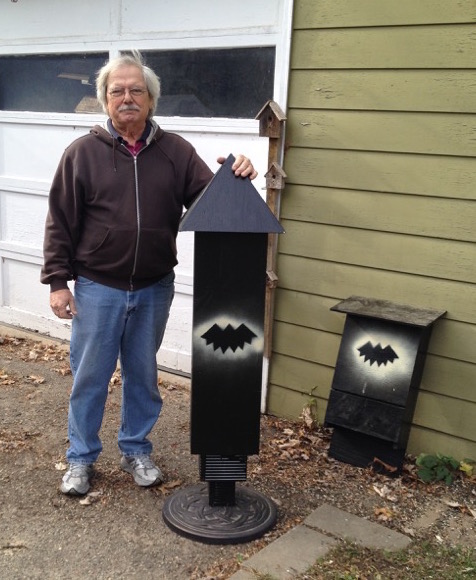
Rocket Bat House
The finished Rocket Bat House.
Here is the finished product. It turned out to be quite a bit more massive than I'd expected. You can see how much larger it is than the typical 4-chambered bat house next to it.
I wonder how I will get this Rocket mounted 20 feet in the air and what sort of pole will support it against the wind.
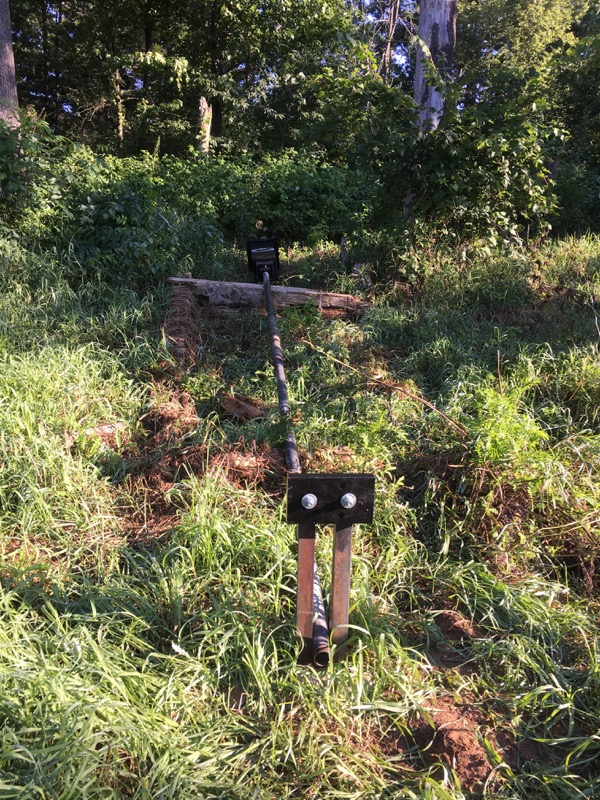
August 2018: Bat Pole
Finally checking off a few things for the Rocket Bat house project

Bat Pole (click to enlarge).
After finishing the Rocket Bat House I had to figure out a way to get it on top of a 20 foot pole.
I had a 20 foot piece of 2 inch pipe but I couldn't figure out a way to move that to where I wanted the house. So I cut it in half. I also had a piece of 2 - 1/4 inch pipe that had been a home-made post driver. It broke so I am using that to join the two pieces of pipe back to 20 feet.
I also had two pieces of heavy angle iron that I embedded in a concrete base. This base has two holes for the pipe; one at the base and one at the top. These will allow me to pivot the post -- with the top section and the bat house -- into upright position.
I am letting the concrete set up and will finish the raising next trip.
Here is the story about the Rocket Bat house -- in case you've forgotten. Click here.
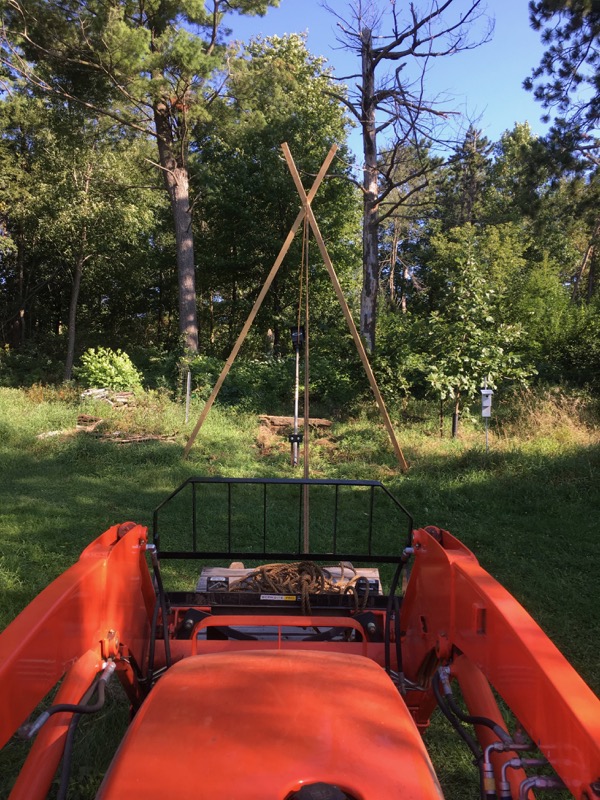
August 2018 : Rocket Raising
Ready to raise(click to enlarge).
I decided to pull the pole up with a rope and gin pole instead of push it up with the bucket. Lifting with the bucket on uneven ground seemed like too much risk of twisting the pole on the way up. (And the gin pole is so much more elegant.)
The cross piece on the base is just an afterthought. There were already matching 5/8" holes drilled in the angle iron stock so I cut a piece of 2X6 Maple and painted it black. I believe this will stabilize the angle irons (keep them from 'thinking' about starting to twist) and provide a stop for the raising pole. (It turned out that it wasn't needed for that since the pole went up so gently.)
Raising the bat house


Raising of the Rocket House (click to enlarge).
Just as I was getting the Gin Pole in place and wondering how I was going to hold it up and pull the rope, Win and Kelly drove in. Complete serendipity.
With their help the whole thing went smooth as silk.
Now we wait to see if any bats will like this home. It will probably be next summer before they come looking for a place to raise their babies.