Woodshed Repairs
Re-roofing project that got out of hand.
June 2018 -
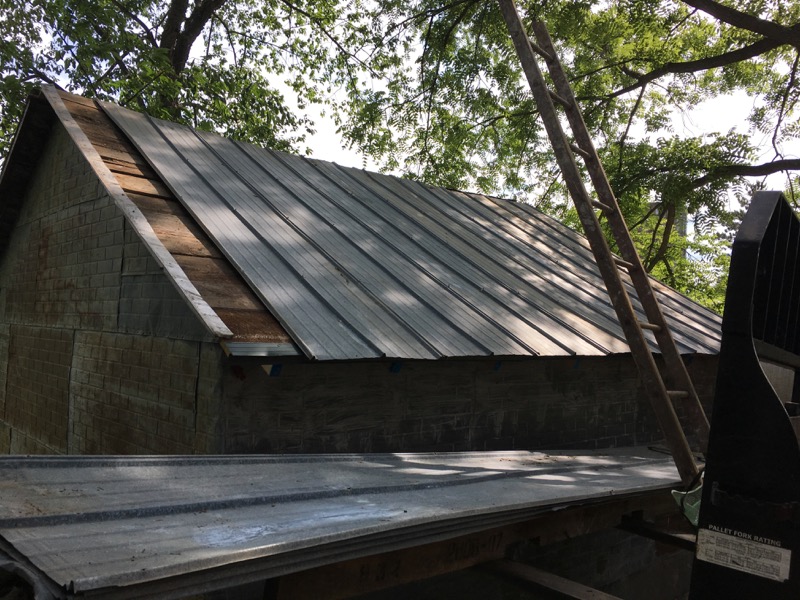
New Roof
(click on image to enlarge)
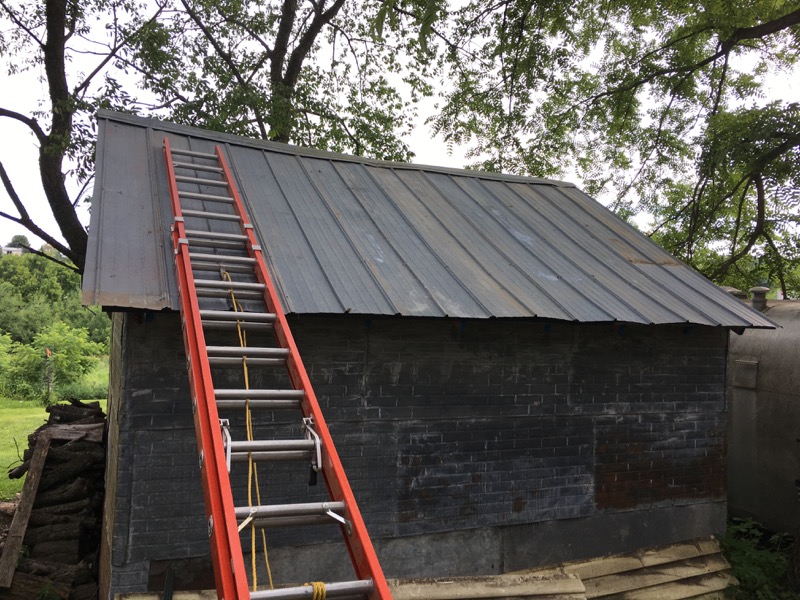
Three days after I started this half-day project, i finally placed the last tin and added the top cap to finish off this half of the roof.
tear-off
(click on image to enlarge)
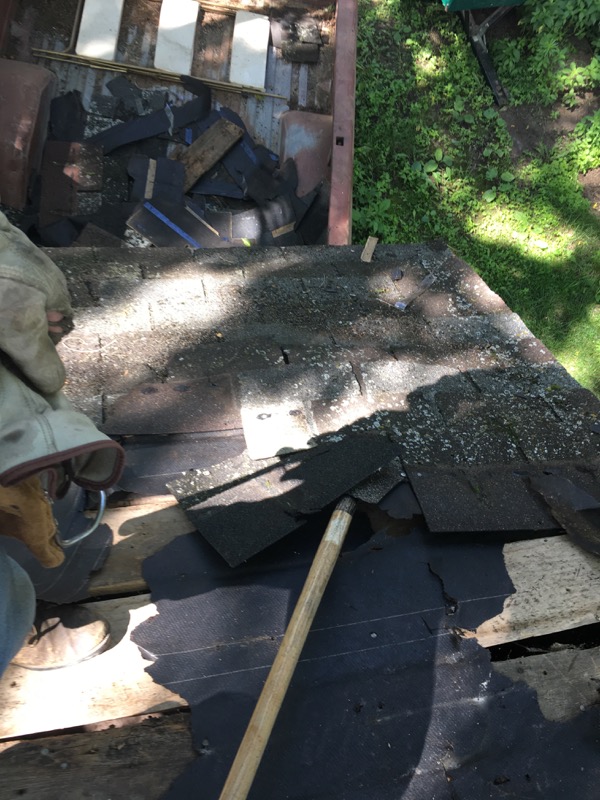
At first, I was only going to tack the tin right over the top of the single layer of shingles. After all, it's just an old shed and that would be good enough (for government work).
When I got on the roof I saw that I'd have to tear off a few shingles around where the leak was so that I could replace the rotted roof boards. Then I thought I'd just tear off a few more. And before I knew it I was up to my knees in old shingles. It is hard work but it is very satisfying work.
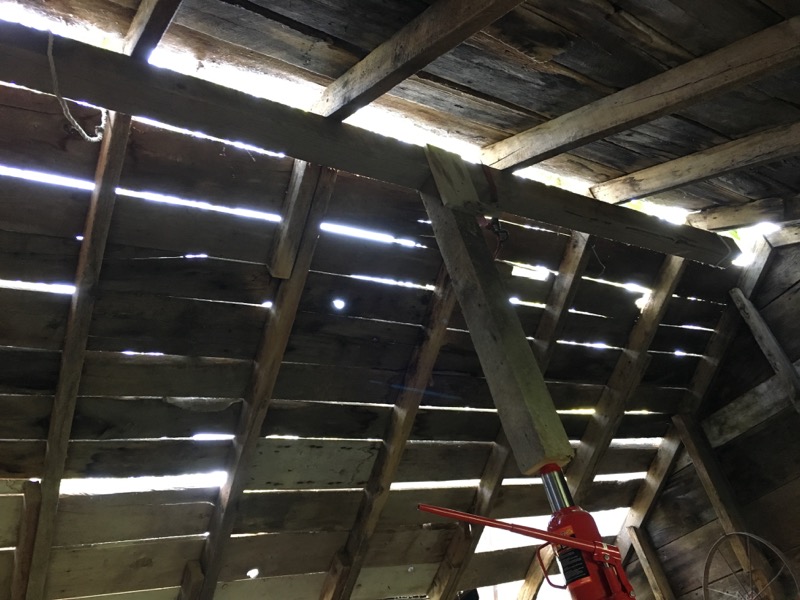
bare roof
(click on image to enlarge)
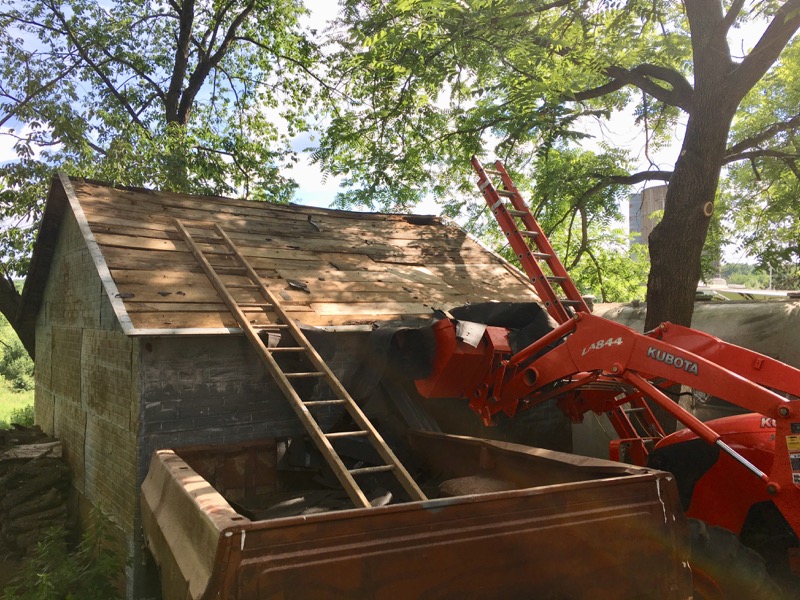
Once the shingles were off I noticed a definite sway-back along the peak of the roof. When I pushed the side wall with the bucket the peak straightened out nicely (because the side wall was bowed out at the top and that was causing the swayback.)
This didn't seem like a good thing.
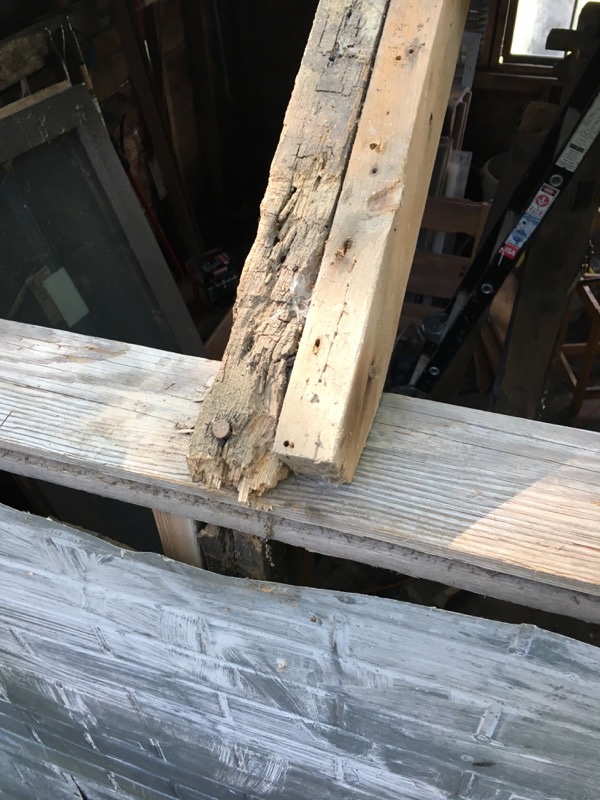
Rotten Sill Plate
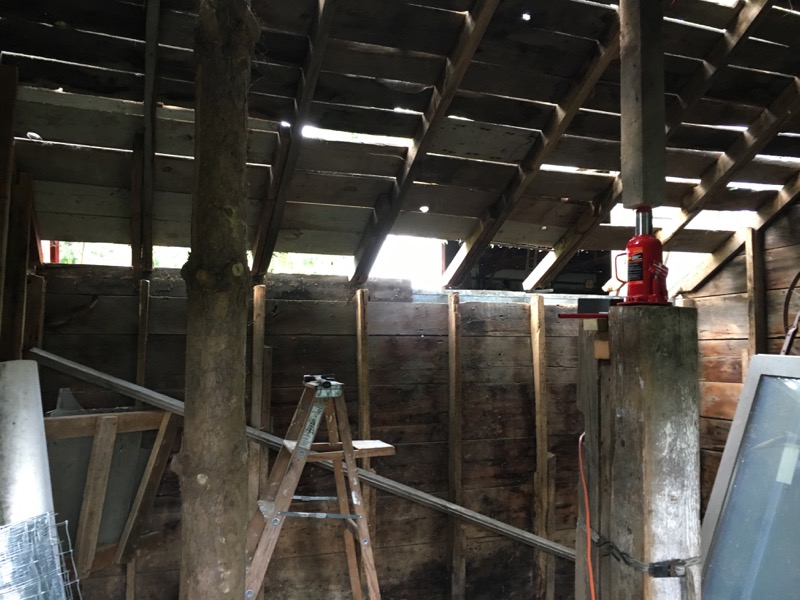
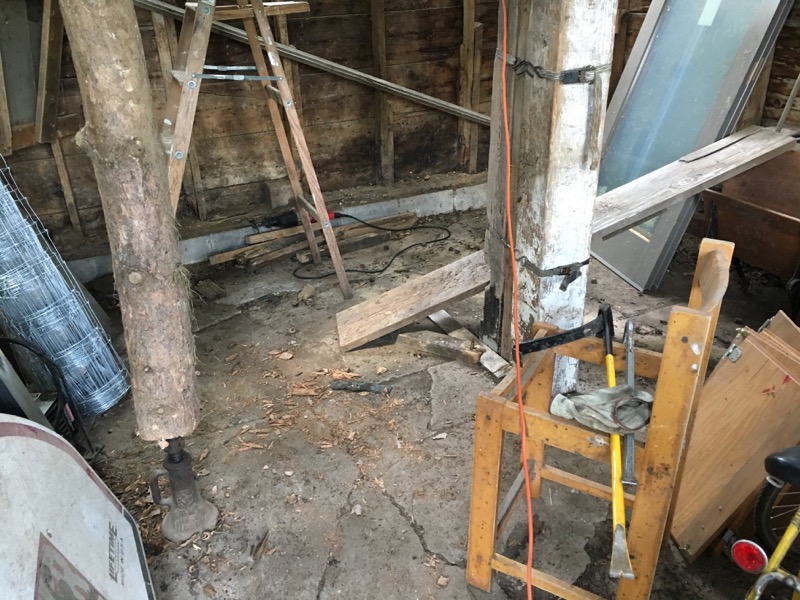
Roof jacks and support beam.
(click on image to enlarge)
The old sill plate was rotten. Someone had tried to fix this by tacking a short piece of 2 X 4 to the bottom of the plate; between two of the studs. It was obvious to me that this whole plate would have to be replaced.
Oh boy!
I jacked up the roof so the building wouldn't fall on me as I tore out (cut, hacked, hammered and pulled) the old rotted sill plate.
New Sill
(click on image to enlarge)
I replaced the rotted 2 X 4 sill plate with a 2 X 6 board (silo stave that had been used in the old barn).
Note: My dad used these old silo staves in many building projects. He had dis-assembled the wooden silo at the "Highway Farm" and saved all the boards. He had designed the new silo room around these long, straight 2 X 6's and used them as rafters.
Rotted Rafters
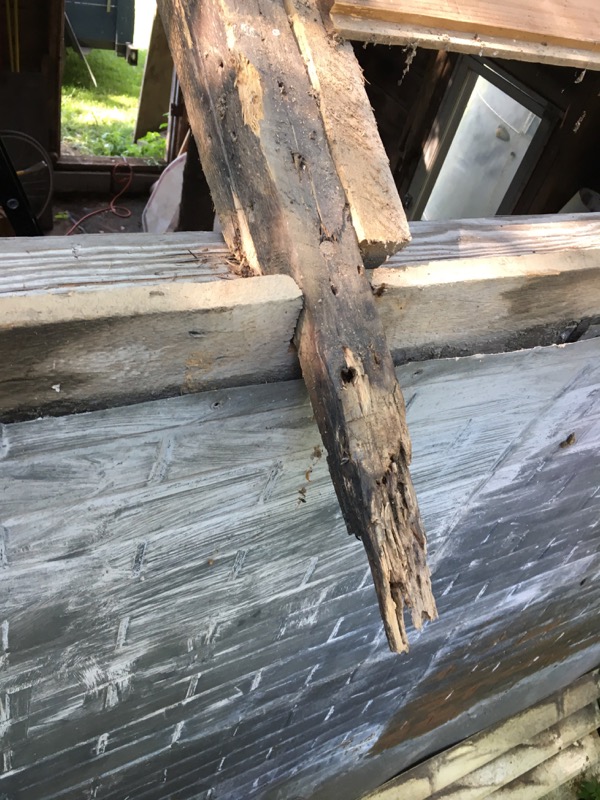
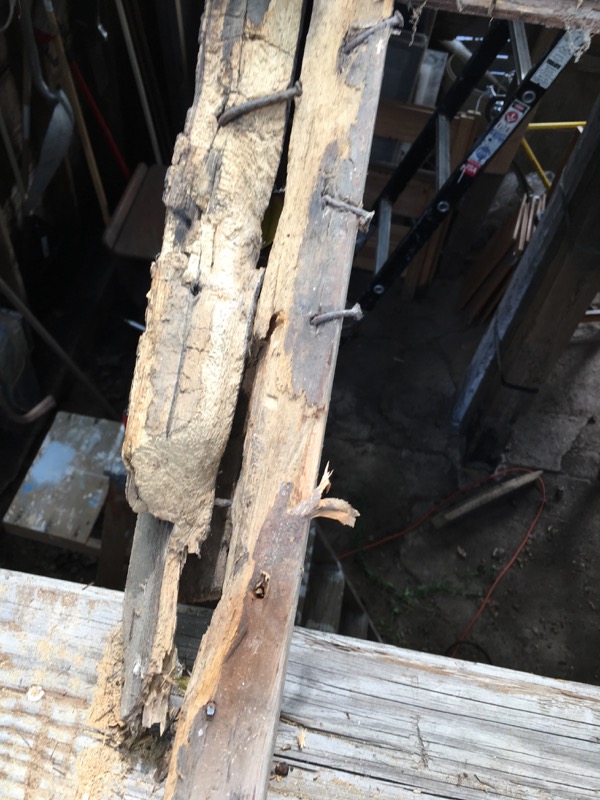
Rotted Rafters.
(click on image to enlarge)
Oh boy!
The eve supports are mostly rotted off . There have been attempts over the years to create new eaves by sistering the rafter extensions past the side of the shed. These are mostly rotted off too.
Some of the rafters are almost totally gone due to rot and insect (and animal) excavation.
I maybe should have put in 10' sisters to extend all the way to the peak but I couldn't see how that would make things much better for the extra effort and expense.
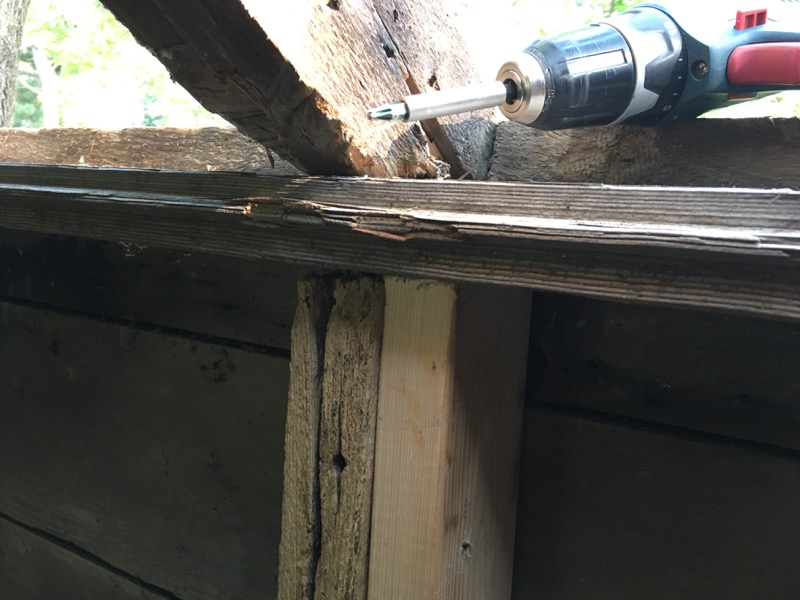
Sisters in place and almost finished replacing roof boards.
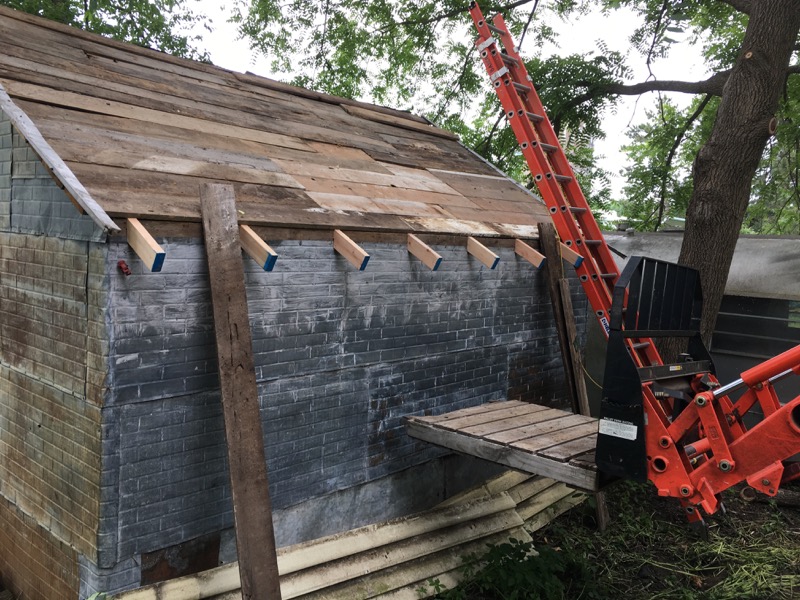
All 'sistered' and ready for eaves.
(click on image to enlarge)
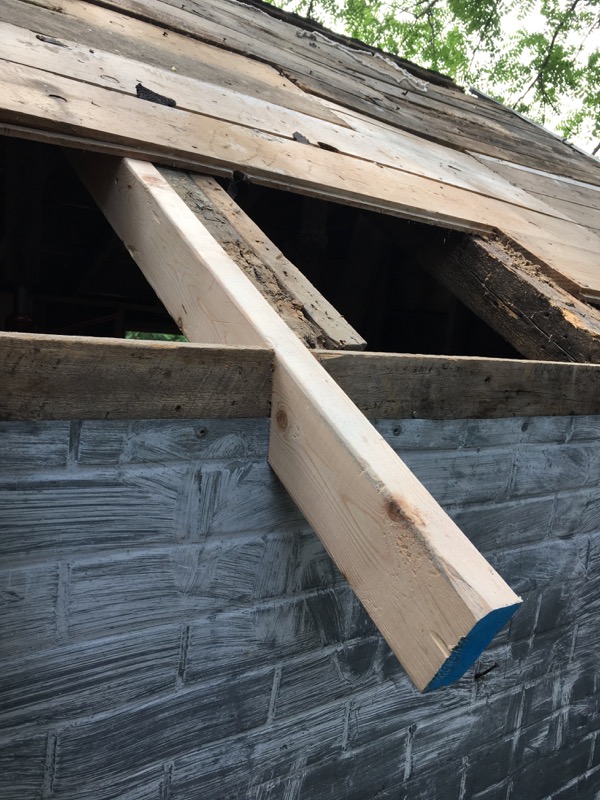
I used 8 foot 2X4's to sister these rafters. These were notched and extended past the plate to form the eaves. I notched a new board along the top of the siding to close in the gaps.
Then it became a matter of matching wood pieces to the empty spots. Most of it is wood from the old barn.
One more piece of tin.
Almost done.
(click on image to enlarge)
One more cut in the tin - and it's a long rip cut - and then attach the ridge cap.
That does it for the north side. Will the south side take as long? It already has tin but that tin is pretty much shot. Maybe I can patch it to last for a while....